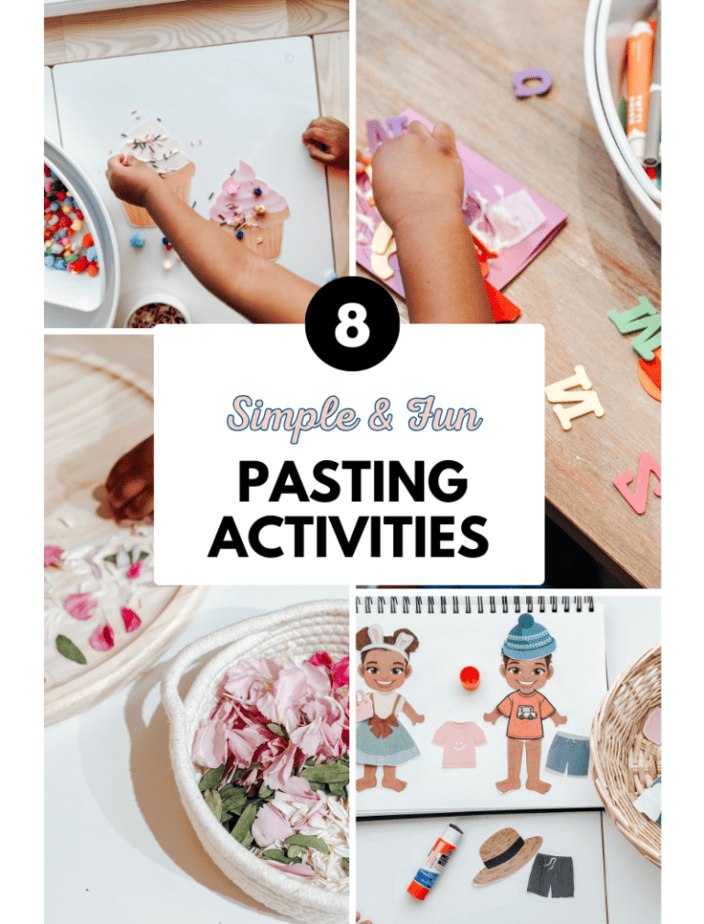
Easy Garden Sensory Bin Idea
Are you looking for a simple garden sensory bin activity to do with your toddler? I have the perfect garden sensory bin idea for you! Keep reading to see how you can easily recreate this fun garden sensory bin for kids! .
I love sensory bins for kids — they’re interactive and provide a wonderful learning opportunity for little ones.
Everything you need for this activity
If you need a quick guide on how to dye Sensory Rice Check out my detailed blog post on everything you need to know to dye sensory rice! Click Here
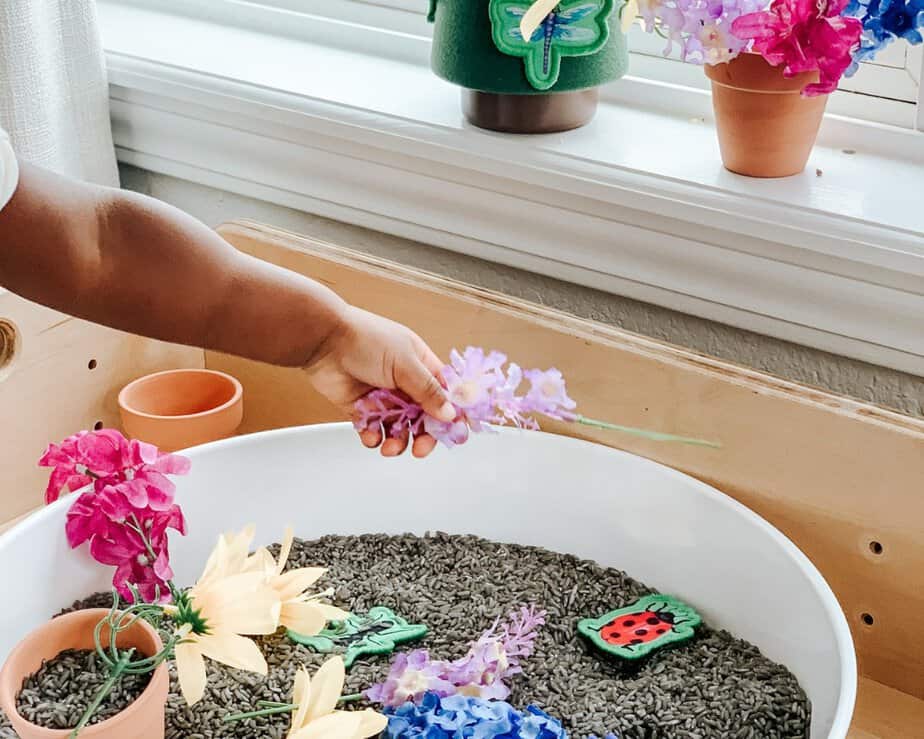
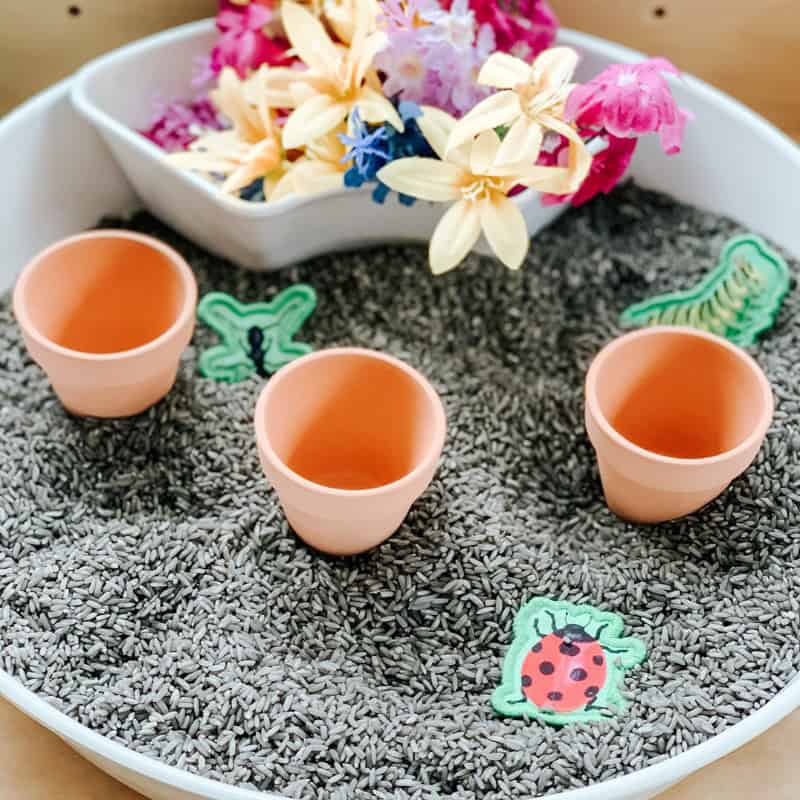
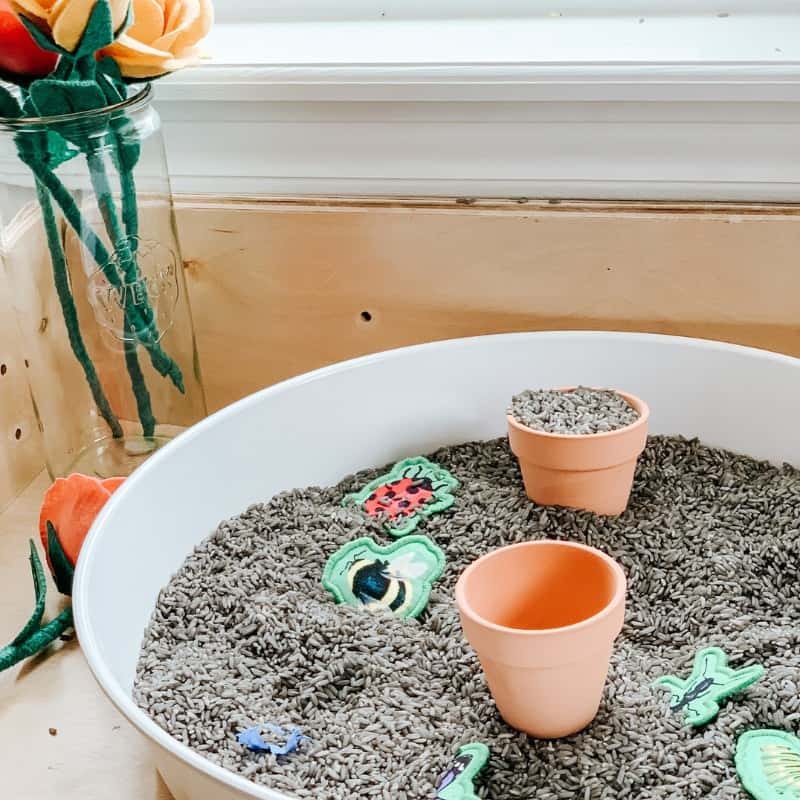
- Sensory tray
- Faux flowers and pots
- Scooping tools and cups
- Sensory filler (I used black rice)
Affiliate Disclaimer: This post might contain affiliate links, which means I receive a small commission if you purchase through my links, at no additional cost to you!
Okay, I know I’m not alone when I say I love how engaging and fun sensory bins are for toddlers! Sensory bins are a go-to activity in my house because they’re super easy to set up and incredibly engaging for little ones.
However, creating a sensory bin for younger toddlers can be tricky! That’s simply because younger toddlers still tend to put things in their mouths. So when creating sensory bins, my goal is always to make them fun — but most importantly, safe.
This particular sensory bin checks all the boxes: it’s safe for young toddlers, easy to set up, and so much fun!
With the weather starting to warm up, I decided to create a sensory bin in honor of spring being right around the corner. Let’s get into the details of this garden sensory bin, shall we?
Related Flower Post:
How To Make A Garden Sensory Bin
Making and setting up sensory bins for toddlers is easier than you might think! This is one of those activities that’s fully customizable, and you can use items you already have around the house. To make a sensory bin for toddlers, all you need are the following basics:
- Container or sensory table
- Sensory bin fillers
- Sensory utensils (spoons, cups, bowls, etc.)
- Optional: sensory toys
The fun part about creating sensory bins is that you can make them theme-related! Here are some themed sensory bin ideas you can easily try:
- Spring
- Summer
- Winter
- Birthdays
- Holidays (Christmas, Valentine’s Day, etc.)
What Goes Inside Sensory Bins
Deciding what to put inside a sensory bin comes down to what your little one is interested in. Once you have a general idea in mind, you can build a bin around that theme.
For example, if your child is obsessed with dinosaurs, you could create a dinosaur-themed sensory bin filled with some of their favorite toys.
Next comes the filler! Choosing a filler that’s safe for toddlers is the first step. For younger toddlers, you can use fillers such as rice, oats, small lentils, water, or even crinkle paper.
For older toddlers, you can start to introduce other fillers such as beans, water beads, or pasta.
Best Age To Start Sensory Bin
You can start introducing sensory bins as early as 12 months old, as long as the sensory bin is safe. To ensure the sensory bin is age-appropriate and safe start off with fillers such as rice, or even water. and only add toys that are safe as well.
My daughter started playing with sensory bins around 12 months, which was perfect. I used fillers that I knew were safe for her to explore, and wouldn’t pose a choking hazard if she put them in her mouth.