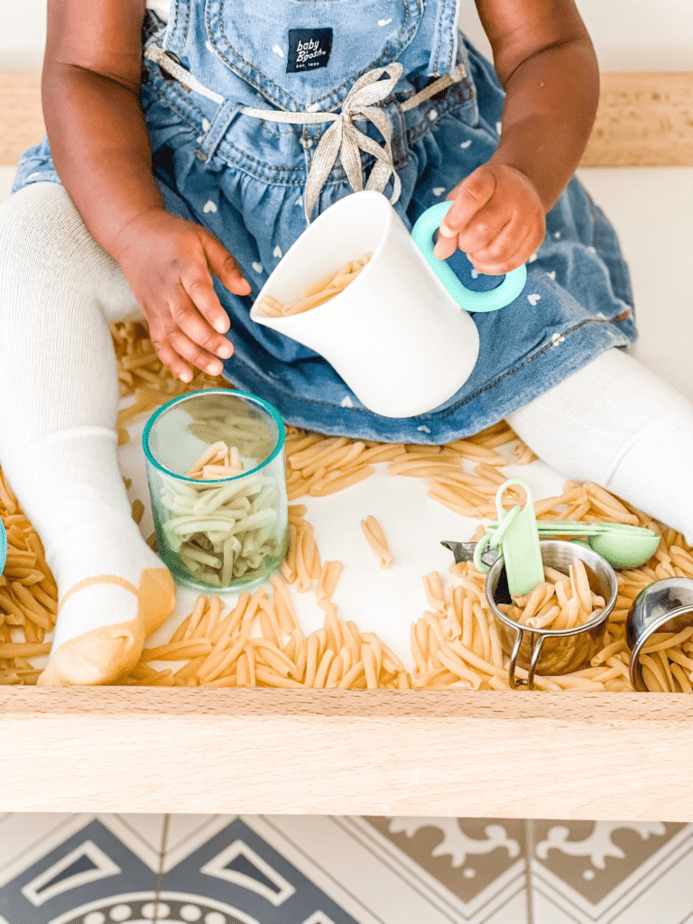
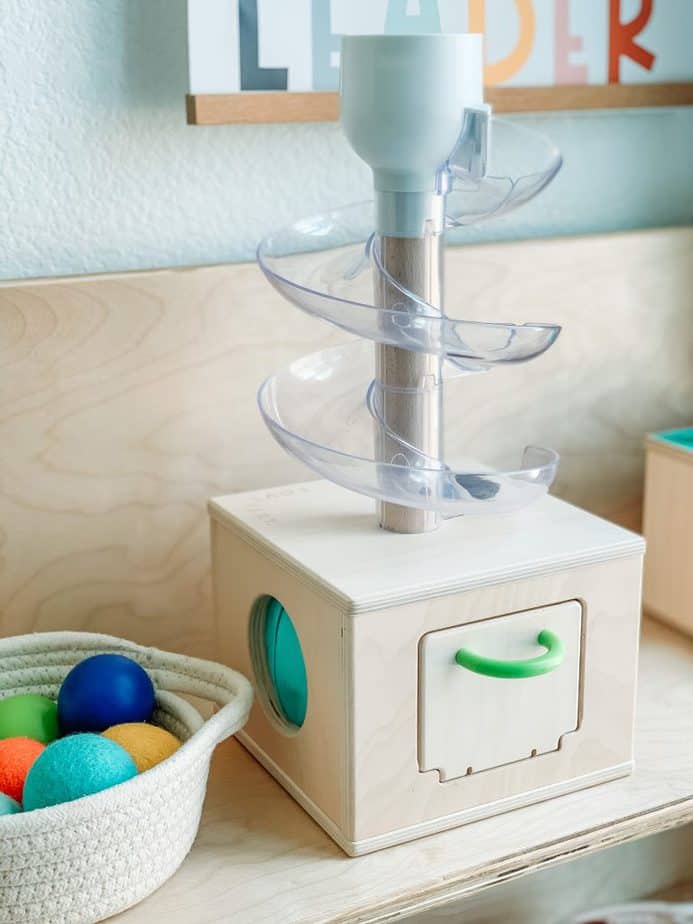
How To Set Up Montessori Shelves At Home

It seems like once toddlerhood strikes, an accumulation of toys comes with it! Creating a space to organize all those toys is important for our sanity as parents. This is why I love the Montessori shelve method, and I’m going to share with you how you can set up a Montessori shelves at home.

Affiliate Disclaimer: This post might contain affiliate links, which means I receive a small commission if you purchase through my links, at no additional cost to you!
Setting up a Montessori shelve at home is a lot easier than you may think. It comes down to finding the perfect spot for the shelf, having a toy rotation routine, keeping things clutter-free, and most importantly making sure this shelf is accessible to your toddlers. These are the basic premises of setting up a Montessori shelf! But, let’s dig a little deeper into how to set It up, step by step!
Oh, before I forget, this post can be used for Montessori or not! You don’t have to adopt the Montessori method in order to create a learning shelf for your little one!
What is a Montessori Shelf?
Montessori shelves are a concept inspired by the Montessori method. The goal is to create an environment that encourages children to follow their interests, which provokes independence!
Montessori shelves are open shelf’s that are accessible to children, and height appropriate. Making it easy for toddlers to access their toys and books, which encourages independence and confidence during play. Montessori shelves are clutter free, and have a minimalist feel to them. Only displaying a handful of toys at a time, and rotatng toys out when need be.

Other Montessori Post You May Love:
5 Tips For Setting Up Montessori Shelves At Home
1. Keep The Shelves Clutter-Free
Be mindful of how many toys you put out at once. The idea behind Montessori shelves is to offer well-thought-out activities that interest and challenge your child—without overwhelming them.
Too many toys can be counterproductive and lead to clutter and distraction. Toy rotation is everything! If your child has a lot of toys, rotate them regularly to keep the shelf organized and the activities feeling fresh.
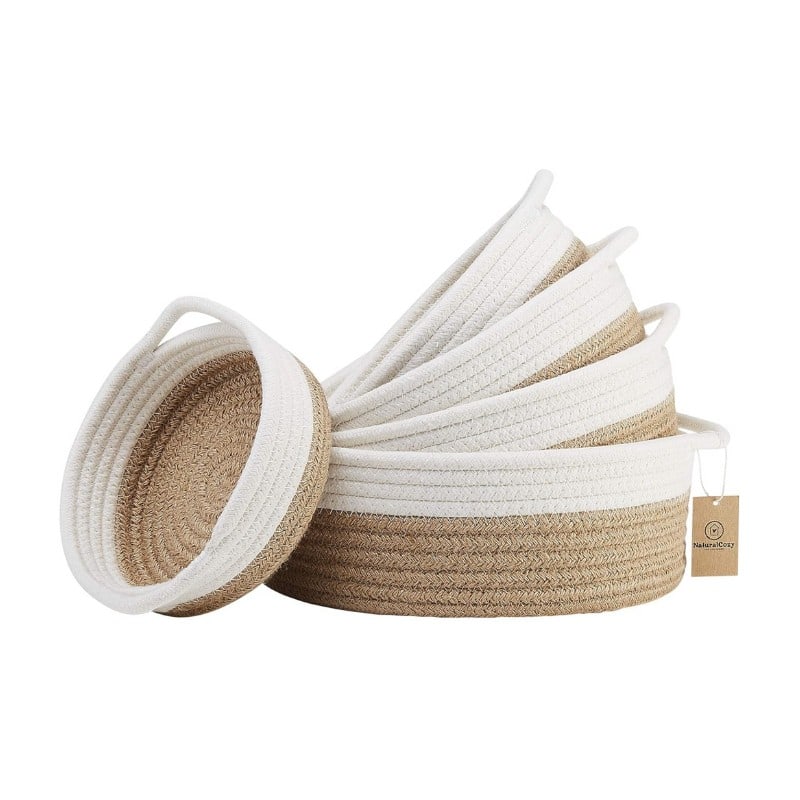
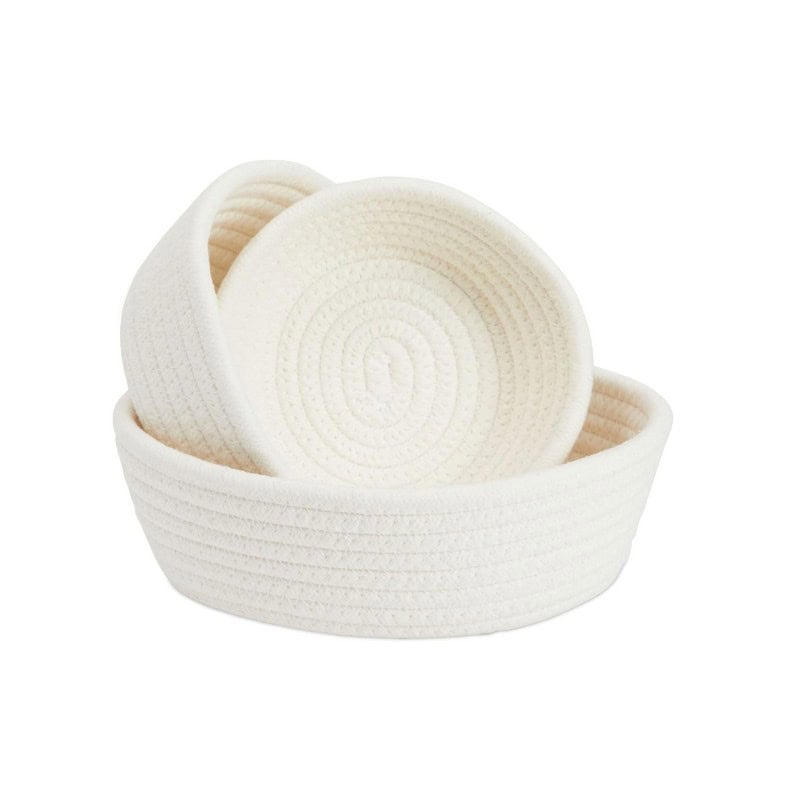
2. Include Baskets and Trays When Needed
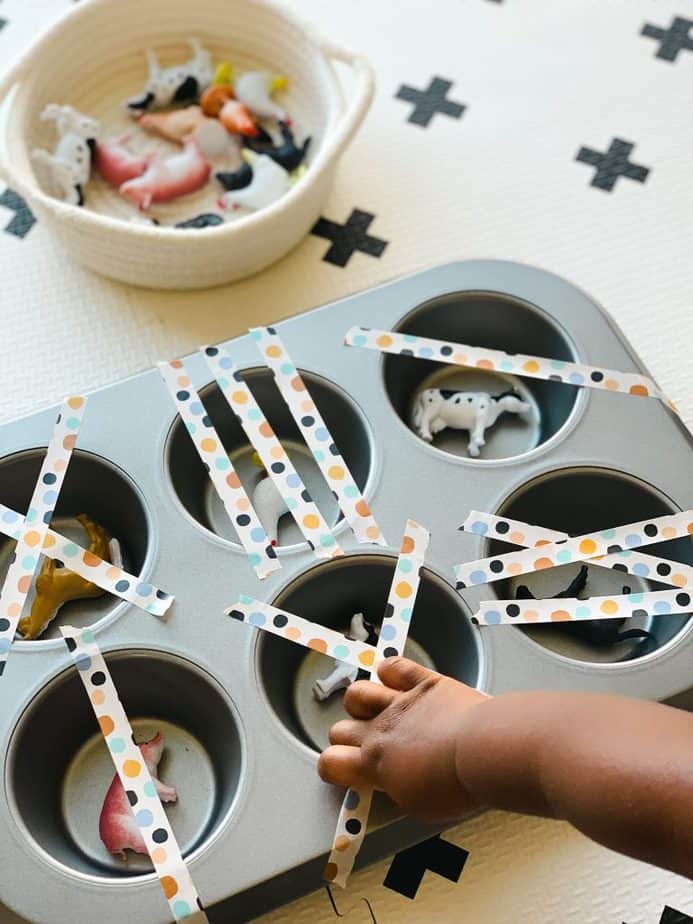
Baskets and trays are great for grouping small items or creating activity sets. They help keep everything neat and contained, making it easier for your child to explore independently.
This is also a wonderful way to organize shelves by interest or skill level. For example, you can place more advanced activities in trays on the top shelf, and easier ones in baskets on the bottom shelf.
Here are a few of my favorite Montessori-style baskets and trays from Amazon—budget-friendly and super functional:

3. Leave Toys “Unfinished”
This was a game-changer for me! I used to set up activities completely in trays or baskets, thinking it would help. But I noticed my daughter became less engaged after using them a few times.
Children are often more drawn to “unfinished” activities. Now, I leave puzzles, stacking toys, and ring sets partially completed so she has to figure out how to finish them. It gives her the opportunity to think critically and stay engaged longer.
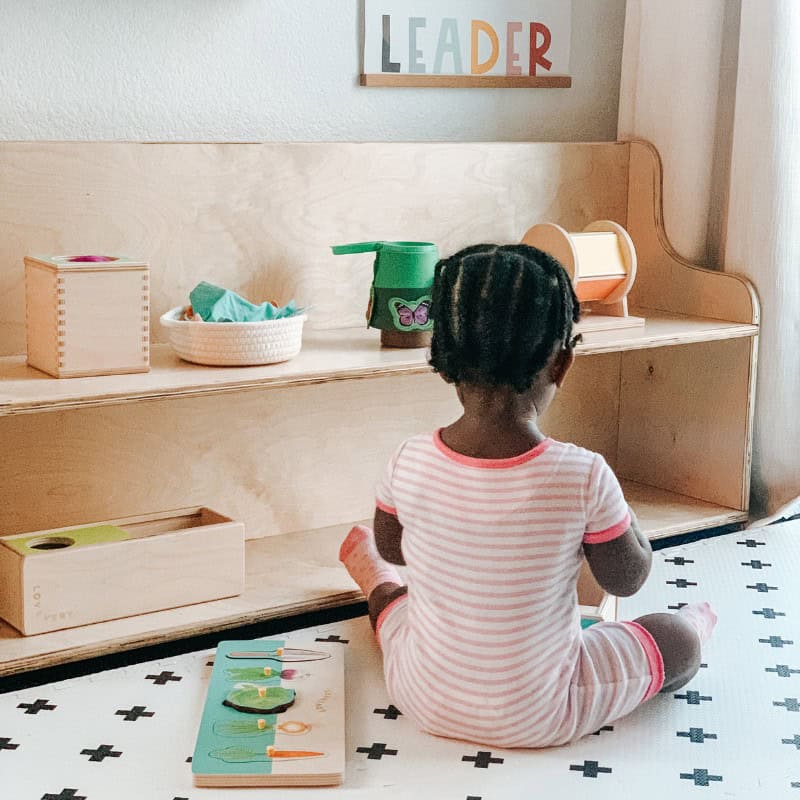
4. Open, and Accessible to Child
Accessibility is everything! We want to encourage independence and confidence in our children. When kids can freely access what interests them, they’re more likely to explore, play, and learn independently.
Make sure your shelves are truly child-sized. If you’re unsure, get down on your child’s level and interact with the space. This will help you see what adjustments need to be made and what shelf height works best.
5. Offer High Quality Toys
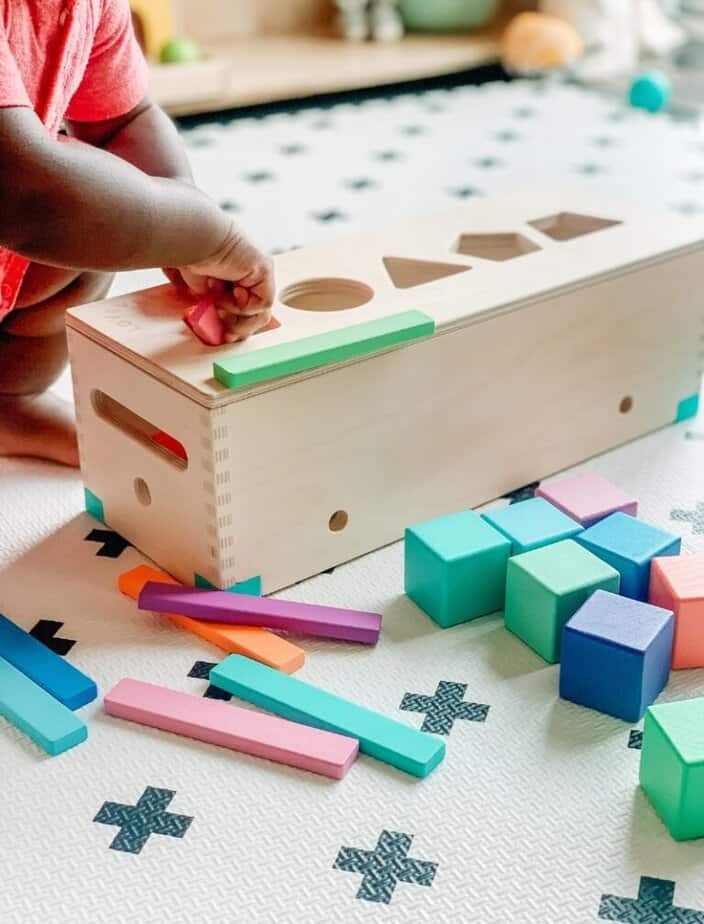
hen setting up Montessori shelves, choosing high-quality toys is key. Montessori philosophy emphasizes purposeful play, so the toys you select should be well-made, durable, and designed to support your child’s development. Quality toys—especially those made from natural materials—tend to be open-ended and thoughtfully designed, allowing your child to explore, problem-solve, and engage more deeply. Instead of overwhelming your shelves with lots of flashy items, focus on a few meaningful toys that invite concentration and hands-on learning.
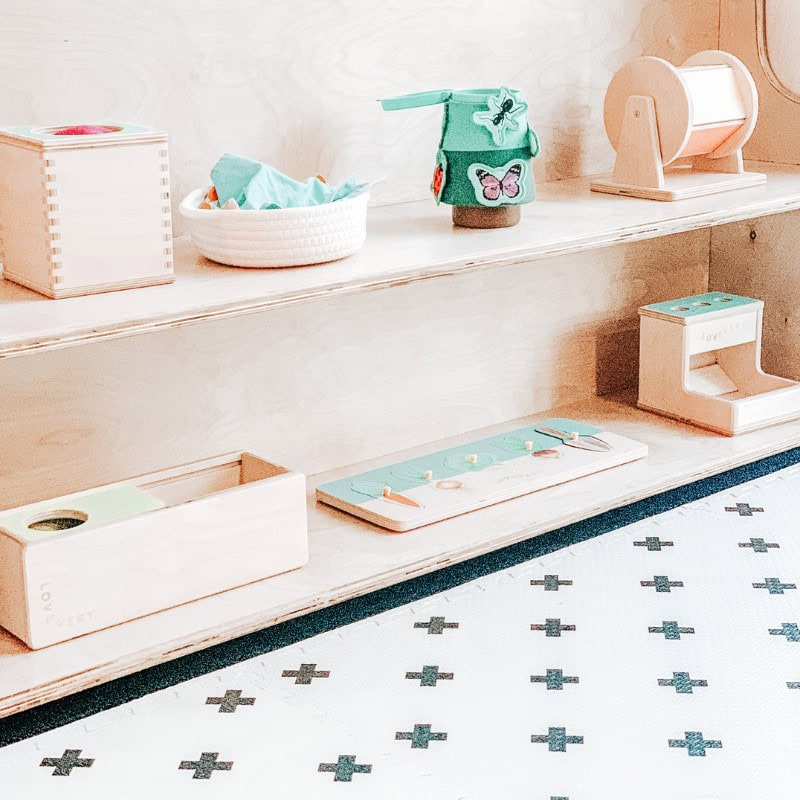
6. Offer Natural Materials
Most Montessori toys are made of natural materials like wood, metal, fabric, and stone. The idea is that natural materials provide children with richer sensory experiences and more information about the world around them.
By offering a variety of natural textures, you’re helping your child explore and understand different sensations—like how rocks feel rough, or metal feels smooth and cool to the touch.
How Do You Use Montessori Shelves At Home?
The goal of montessori shelves is not to clutter the child with to many toys at once. You only want to offer a handful of toys at a time. Toys that align wit your childs current interest, and offer a little bit of a challenge.
- Only add 4-6 toys at time
- Offer a play mat, or table near shelve for toddlers to play with toys on
- Observe your hild interest, Rotate toys out that dont interest your child anymore.
- When adding new toys, model how to use the toys with them. Allow them to use the toy independently once the modeling has been demonstrated.
What is Montessori Toy Rotation?
Montessori toy rotation involves displaying only a handful of toys on your child’s shelf at a time while storing away the rest—especially those that may not currently interest your child. The idea is to avoid overwhelming your child with too many options and to create a calm, intentional play environment. It’s also important to offer toys that align with your child’s current interests and developmental stage.
Toys that aren’t engaging to your child at the moment should be stored and reintroduced later when the child shows renewed interest or when you feel it’s the right time to rotate them back in.
How Often should you rotate toys?
This is one of the most commonly asked questions when setting up Montessori shelves. A good rule of thumb is to rotate toys every 3 to 4 weeks. This allows children enough time to fully explore and master the toy before potentially losing interest.
Be sure to observe your child regularly so you can decide which toys are ready to be rotated out and which ones are still being enjoyed and can stay a little longer.
